
Table of Contents
- 1 History and Origins of Sourdough Bread
- 2 Benefits of Homemade Sourdough Bread
- 3 Understanding the Sourdough Starter
- 4 Step-by-Step Process of Making Sourdough Bread
- 5 Essential Tools and Ingredients for Sourdough Bread Making
- 6 Troubleshooting Common Issues with Sourdough Bread
- 7 Different Variations and Flavors of Sourdough Bread
- 8 Storing and Preserving Sourdough Bread
- 9 Author
Are you ready to embark on a delicious and fulfilling adventure in your own kitchen? Look no further than our Ultimate Guide to Homemade Sourdough Bread. In this comprehensive guide, we will walk you through the step-by-step process of creating your very own artisanal sourdough bread, complete with that tangy, complex flavor and irresistible crust.
Whether you’re an experienced baker or a beginner, our guide has got you covered. Learn how to create and maintain your sourdough starter, understand the science behind fermentation, and master the art of shaping and baking the perfect loaf. With our easy-to-follow instructions and helpful tips, you’ll be enjoying warm, mouthwatering sourdough bread right from your oven in no time.
Say goodbye to store-bought bread and experience the satisfaction of creating your own homemade sourdough. From crunchy toast to gourmet sandwiches, the possibilities are endless. Join the sourdough revolution and start making bakery-worthy bread from scratch.
Get ready to knead, shape, and bake your way to sourdough perfection. Let’s dive into the world of homemade sourdough bread together.
History and Origins of Sourdough Bread
Sourdough bread has a long and fascinating history that dates back thousands of years. It is believed to have originated in ancient Egypt, where bakers discovered the magical power of wild yeast. The natural fermentation process used to make sourdough bread not only leavens the dough but also imparts a distinct tangy flavor and improves its nutritional profile.
Throughout history, sourdough bread has been a staple in many cultures around the world. From the sourdough pancakes of the Gold Rush era to the traditional Russian black bread, each region has its own unique take on this ancient bread.
Benefits of Homemade Sourdough Bread
Homemade sourdough bread offers a multitude of benefits that set it apart from its commercial counterparts. Firstly, it is made with simple, natural ingredients, free from any artificial additives or preservatives. This makes it a healthier choice for those who are conscious of what they put into their bodies.
The fermentation process of sourdough bread also breaks down gluten and other hard-to-digest proteins, making it easier to digest for individuals with gluten sensitivities. Additionally, the lactic acid produced during fermentation acts as a natural preservative, extending the shelf life of the bread without the need for chemicals.
Furthermore, homemade sourdough bread has a lower glycemic index compared to commercially produced bread. This means it causes a slower and more gradual rise in blood sugar levels, making it a better option for those who are watching their blood sugar levels.
Understanding the Sourdough Starter
The sourdough starter is the heart and soul of sourdough bread. It is a living organism, a mixture of flour and water that captures wild yeast and bacteria from the environment. These microorganisms work together to ferment the dough and give sourdough bread its unique flavor and texture.
Creating and maintaining a sourdough starter requires a bit of patience and care, but the rewards are well worth it. To start your own starter, you’ll need a few simple ingredients: flour, water, and a container to hold the mixture.
To create your sourdough starter, begin by mixing equal parts of flour and water in a clean container. Cover the container loosely with a cloth or plastic wrap and let it sit at room temperature for about 24 hours. During this time, the wild yeast and bacteria present in the environment will start to colonize the mixture, kickstarting the fermentation process.
Step-by-Step Process of Making Sourdough Bread
Now that you have your sourdough starter ready, it’s time to dive into the step-by-step process of making sourdough bread. While it may seem intimidating at first, with practice and a little bit of patience, you’ll soon become a sourdough bread master.
- Mixing the dough: Start by combining your sourdough starter with flour, water, and salt. Mix everything together until a shaggy dough forms.
- Autolyse: Allow the dough to rest for about 30 minutes to an hour. This autolyse step helps the flour absorb the water and develop gluten.
- Stretch and fold: Stretch and fold the dough multiple times during the fermentation process to develop its structure and strength.
- Bulk fermentation: Let the dough ferment at room temperature for several hours. This allows the wild yeast and bacteria in the sourdough starter to work their magic and create those beautiful air pockets in the bread.
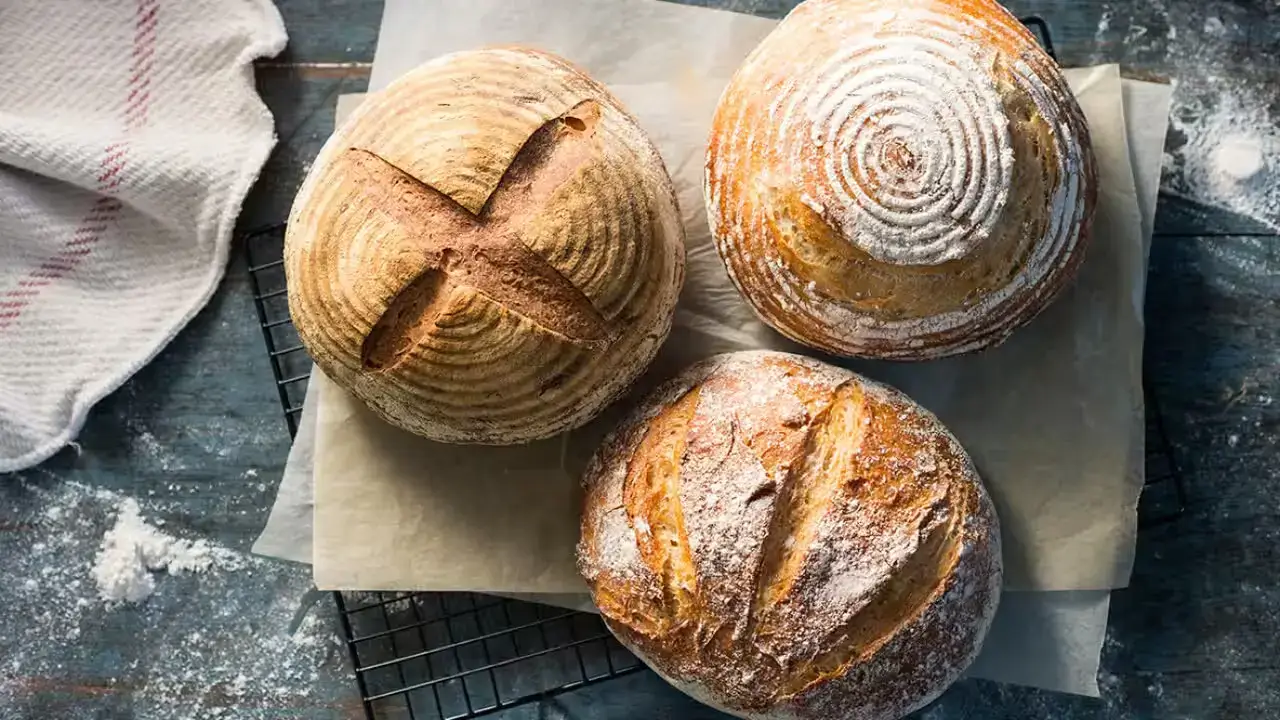
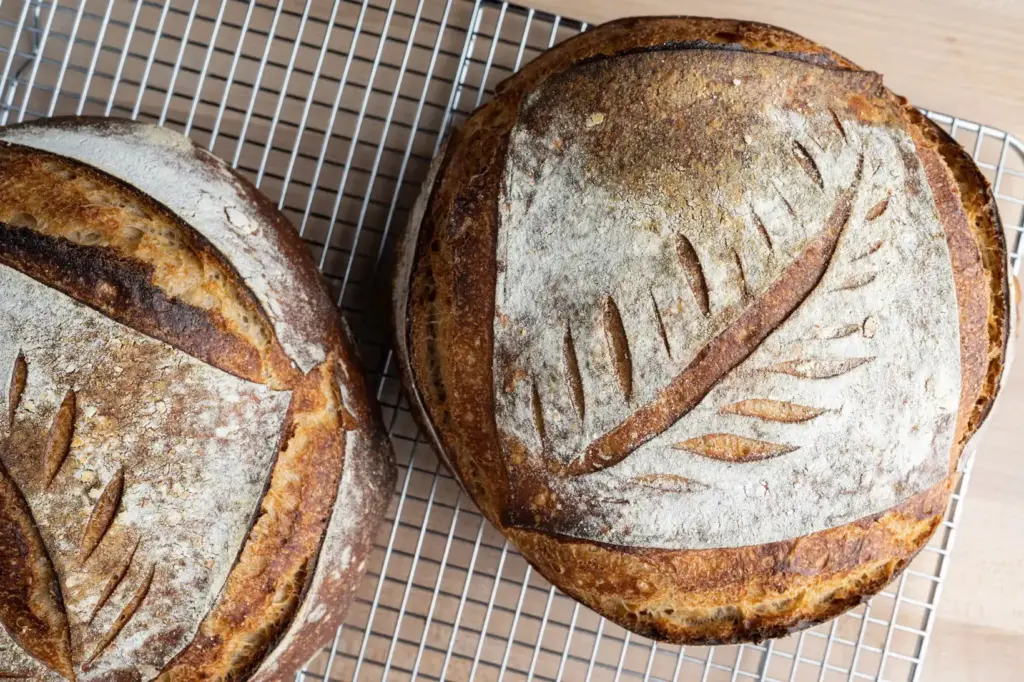
- Shaping the loaf: Gently shape the dough into a round or oblong shape, being careful not to deflate it too much.
- Final proof: Place the shaped loaf into a proofing basket or a bowl lined with a floured cloth. Let it proof at room temperature until it has doubled in size.
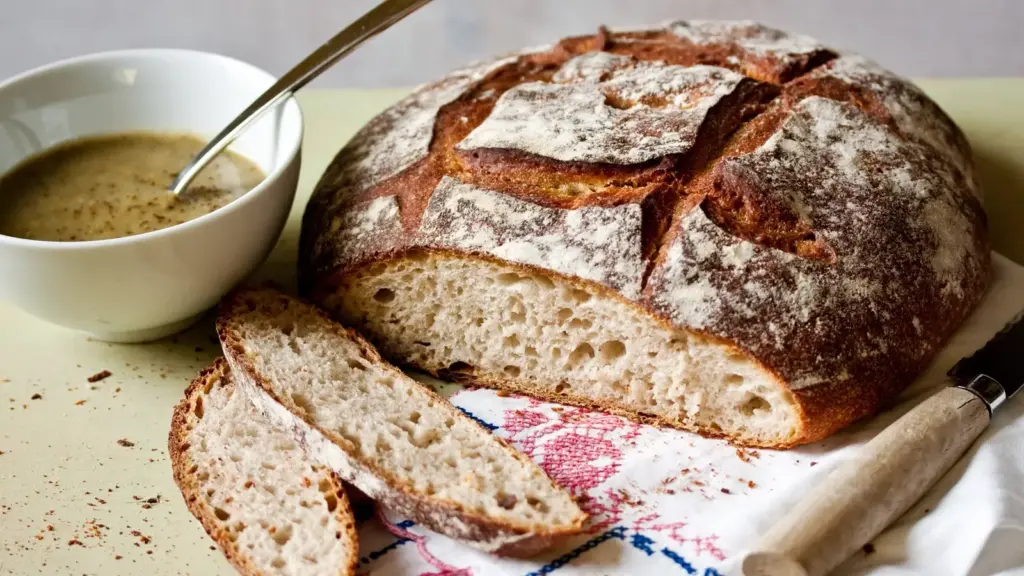
- Baking: Preheat your oven and a Dutch oven or baking stone. Transfer the proofed loaf onto the hot surface and bake it at a high temperature to achieve that perfect crust and texture.
Essential Tools and Ingredients for Sourdough Bread Making
To create the best homemade sourdough bread, you’ll need a few essential tools and ingredients. Here’s a list of what you’ll need to get started:
- A digital scale: Accurate measurements are crucial in sourdough bread making, so invest in a digital scale for precise measurements of flour and water.
- Quality flour: Choose high-quality flour, preferably organic and stone-ground, for the best flavor and nutritional value.
- Water: Use filtered or spring water to avoid any unwanted chemicals or additives that can affect the fermentation process.
- Mixing bowls: You’ll need a few mixing bowls in various sizes to mix and ferment your dough.
- Dutch oven or baking stone: A Dutch oven with a tight-fitting lid or a baking stone will help create the perfect oven spring and crust.
- Bench scraper: A bench scraper is a handy tool for shaping and dividing the dough.
- Proofing basket: A proofing basket, also known as a banneton, helps maintain the shape of the dough during the final proofing stage.
Troubleshooting Common Issues with Sourdough Bread
As with any form of baking, sourdough bread making can sometimes be a bit tricky. Here are some common issues that you might encounter along the way and how to troubleshoot them:
- Dense crumb: If your bread turns out dense and heavy, it could be due to underproofing or not developing enough gluten during the mixing and folding process. Make sure to give your dough enough time to ferment and develop structure.
- Flat loaf: A flat loaf can be caused by several factors, including overproofing, not shaping the dough properly, or using too much hydration in the dough. Experiment with different techniques and adjust your process accordingly.
- Sourdough not rising: If your sourdough fails to rise, it could be a sign of weak or inactive starter. Make sure your starter is healthy and active before using it in your bread dough. You can also try adjusting the temperature and fermentation time to encourage proper fermentation.
Different Variations and Flavors of Sourdough Bread
While traditional sourdough bread is a classic favorite, there are plenty of variations and flavors to explore. From seeded loaves to herb-infused bread, the possibilities are endless when it comes to customizing your sourdough. Here are a few ideas to get you started on nanastoto:
- Olive and rosemary sourdough: Add chopped olives and fresh rosemary to the dough for a Mediterranean twist.
- Cinnamon raisin sourdough: Mix in cinnamon and raisins for a sweet and aromatic loaf that’s perfect for breakfast.
- Whole wheat sourdough: Replace a portion of the white flour with whole wheat flour for a heartier, nuttier flavor.
- Seeded sourdough: Sprinkle a mixture of seeds, such as sesame, flax, and sunflower, on top of the loaf for added texture and crunch.
Storing and Preserving Sourdough Bread
To keep your homemade sourdough bread fresh and flavorful, proper storage is key. Here are some tips for storing and preserving your bread:
- Allow the bread to cool completely before storing it. This helps prevent moisture buildup, which can lead to a soggy crust.
- Store the bread in a paper bag or wrap it loosely in a clean kitchen towel to maintain its crustiness.
- Avoid storing sourdough bread in the refrigerator, as it can cause the bread to dry out and lose its flavor.
- If you have more bread than you can consume within a few days, slice it and freeze it in airtight bags. Thaw individual slices as needed.
Homemade sourdough bread is a labor of love that rewards you with a delicious, wholesome loaf. From its rich history to the science behind fermentation, there is so much to learn and explore in the world of sourdough bread making.
With our Ultimate Guide to Homemade Sourdough Bread, you now have the knowledge and confidence to create your own bakery-worthy bread from scratch. So roll up your sleeves, gather your ingredients, and let the aroma of freshly baked sourdough fill your kitchen. Get ready to experience the joy and satisfaction of creating your very own tangy, crusty masterpiece. Happy baking!
Also read: No Doubt Announces Thrilling Reunion at Coachella 2024 After Decade-long Hiatus